Created: 2013/7/5
Last updated: 2014/2/6
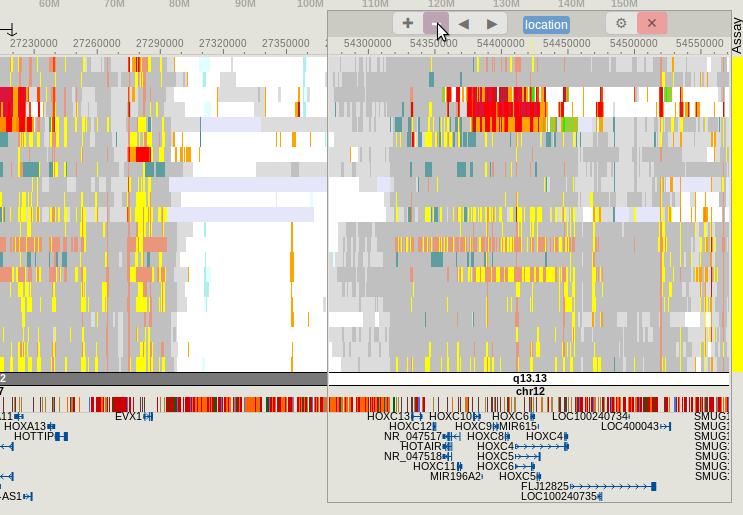
From version 20 you can now embed the WashU EpiGenome Browser in your website! You only need to do some trivial HTML and JavaScript coding to have it. The embedded browser is full-blown browser as the one running on our server, and you can customize it to a great extent to show your stuff in your own way. Best of all, it's part of your website.
Last updated: 2014/2/6
From version 20 you can now embed the WashU EpiGenome Browser in your website! You only need to do some trivial HTML and JavaScript coding to have it. The embedded browser is full-blown browser as the one running on our server, and you can customize it to a great extent to show your stuff in your own way. Best of all, it's part of your website.
Examples
This web page has a browser embedded in it. It automatically embeds the browser as soon as the webpage itself is loaded. It shows the default tracks from the Roadmap Epigenomics public hub on human hg19 genome.
http://cgs.wustl.edu/~xzhou/embed/2.html
This example loads human/hg19 genome and displays a set of custom tracks.
http://cgs.wustl.edu/~xzhou/embed/3.html
This example can embed browser according to user's actions (you need to click a button to embed a browser).
You can see the source code of these examples in the HTML files (1.html, 2.html, 3.html) and adapt them for your purpose.
How the first example works
1. add following lines in the <HEAD> section of your web page:
<link rel="stylesheet" type="text/css" href="http://epigenomegateway.wustl.edu/browser/style.css" />
<script type="text/javascript" src="http://epigenomegateway.wustl.edu/browser/base.js"></script>
<script type="text/javascript" src="http://epigenomegateway.wustl.edu/browser/personality.js"></script>
<script type="text/javascript" src="http://epigenomegateway.wustl.edu/browser/embed.js"></script>
2. call the function embed_washugb to embed a browser. Most simply it can be done with following lines of javascript:
<script type='text/javascript'>
embed_washugb({
host:'http://epigenomegateway.wustl.edu',
container:document.getElementById('container_id'),
genome:'hg19',
});
</script>
This example requires a <div> element with ID of "container_id" in the web page.
The embed_washugb function requires a hash object as its only argument. All customization will be done through contents of this hash, as explained below.
embed_washugb options
All parameter names (keywords) are in bold face and are case-sensitive.
host
URL of the hosting server
value: url string
value: url string
container
DIV object in which the browser will be embedded. You can supply the object programmatically, or by the object's ID (document.getElementById('xxx'))
value: DIV object
value: DIV object
genome
genome name, e.g. hg19, mm9
value: genome name string
value: genome name string
the width of space on the left of genome heatmap (where track names are shown)
value: positive integer
value: positive integer
panelWidth (optional)
width of the genome heatmap panel
value: positive integer
value: positive integer
noPanelwidthConfig (optional)
do not show browser panel width configuration button (gear button)
value: true (or 1 or anything evaluates to true in javascript)
value: true (or 1 or anything evaluates to true in javascript)
noDeleteButton (optional)
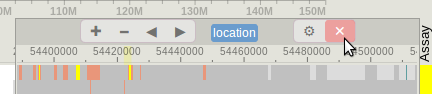
do not show delete button (for deleting the embedded panel)
value: true
value: true
hideTrackName (optional)
do not show track name on the left of browser
value: true
value: true
hideChromNavigator (optional)
do not show the chromosome navigator on top of the browser tracks
value: true
value: true
hideTopRuler (optional)
do not show ruler on top of the browser tracks
value: true
value: true
hideMetadataColormap (optional)
do not show metadata color map
value: true
value: true
maxTrackHeight (optional)
maximum track height, this only applies for the automatic track height adjustment when the browser loads for the first time
value: positive integer
value: positive integer
noDefaultTrack (optional)
do not load any default native tracks
value: true
value: true
showContent (optional, new parameter)
define contents to be displayed in the embedded browser
value: an array of objects, each object defines a track in the same fashion a JSON data hub is written.
value: an array of objects, each object defines a track in the same fashion a JSON data hub is written.